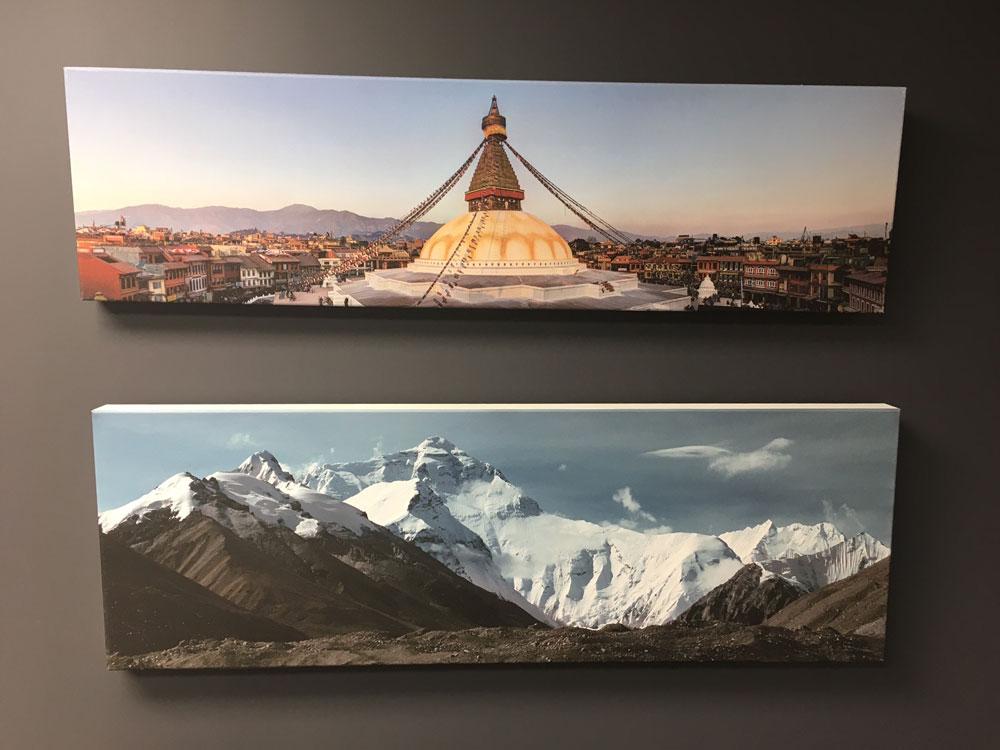
A gallery wall is an excellent method of bringing character within any work space or home. While the final product might look seamless, the procedure of putting together a well-made wall is really a form of art. Have no fear, we have laid out a guide about how to make your own customized creation in 3 steps!
In conjunction with the artwork, you will need:
- Cube Level
- Nails/ Wall mounts
- Hammer
- Painters Tape
- Construction or craft paper
Let’s begin!
Get Creative
Step one in crafting your art wall involves selecting a theme for your wall. Choose the kinds of images you would like to work with then add a sequence of other artwork and photos which fit the exact same style. Concentrate upon bringing together filters, color families, and themes which pair well with each other.
Things you should consider as you’re curating the photograph gallery:
- Style: Whether the home is full of modern touches or antiques, you will want the gallery wall to feel as if it truly is a part of your house.
- Color: Both in the artwork and in your space
- Faces: Who are you including within the gallery? Are you going to include group photos, portraits, both?
As you craft your image gallery, go through each image on your tablet, computer, or phone using an editorial eye to check how they work together. It’ll assist in narrowing down the composite to the ones which harmoniously work together.
Lay Out and then Mock Up
Now that there’s the ideal collection, it’s time that you lay out and mock up! You’ll want to discover how to better configure the images and artwork within the space you have designated. Begin to use the largest photograph as a focal point then build outward. It’s useful to do it on the floor close to the wall in order for you to correctly visualize the final product. Rotate the images in order to refine the look and layout.
Once the composition is set, mock on your wall. Utilize trace paper for every piece, and trim them to size, as well as tape them to your wall in the arrangement you desire.
Things to take into consideration:
- Is it appropriately grouped around additional furniture?
- Does it appropriately fill the space?
- Is the arrangement low enough or high enough on your wall?
Hang
Hanging the art work is the last step in crafting the wall masterpiece. If you have noted the hang marks properly on your trace paper, it also should be the easiest measure! In order to be certain, measure two times and drill one time. Use the cube level in order to check every artwork piece as you are hanging, to be certain that the photo frames are even. Take one step back after every piece in order to ensure that the placement appears right.
Keep in mind, it’s your wall for your space. Have a good time with it and try to mix in a variety of artwork media.
For more information well-designed canvas prints contact Speedpro London today!


