Walk into any exhibition hall and there’s hundreds of brands screaming for attention, often within a mere few feet of one another. In this environment, your booth isn’t just a physical space; it is a three-dimensional billboard, a stage, and a first impression rolled into one.
Research suggests you have roughly 3 to 5 seconds to capture an attendee’s attention as they walk down the aisle. If your graphics are cluttered, confusing, or uninspired, those potential leads will keep walking. This is why trade show graphics are not just an accessory; they are the single most critical asset in your event marketing toolkit.
While there are endless options for booth accessories; from hanging structures to interactive kiosks, the backbone of most 10×10 and 10×20 booths remains the dynamic duo: Banner Stands and Backdrops.
In this guide, we will deep-dive into these two essential tools, exploring the different types, the benefits of each, and the design secrets that turn passersby into qualified leads.
The Power of Portable: Mastering Banner Stands
Banner stands are versatile, portable, and relatively affordable, making them a staple for everyone from Fortune 500 companies to local startups. However, not all banner stands are created equal. Understanding the nuances between the types can save you money and headaches on the show floor.
1. The Retractable Banner (Roll-Up)
The retractable banner is the most ubiquitous graphic in the industry. It functions much like a window shade: the graphic is stored inside a metal base and is pulled up and hooked onto a support pole.
- The Pros:
- Speed: You can set these up in under 30 seconds.
- Protection: Because the graphic rolls into the base, it is protected from scratches and creases during transport.
- Footprint: They take up very little floor space, making them perfect for tight corners or crowding an aisle.
2. Tension Fabric Banner Stands
A rising trend in 2024 and 2025, these stands feature a pillowcase-style fabric graphic that slides over a tubular metal frame.
- The Pros:
- Aesthetic: The look is incredibly modern and sleek. There are no visible mechanisms, just your brand.
- No Glare: Unlike the vinyl often used in retractables, fabric absorbs light, making it perfect for flash photography and bright convention halls.
- Interchangeable: You can keep the hardware and simply buy a new fabric “skin” for the next show.
3. X-Banner Stands
These are the budget-friendly contenders. X-banners use a lightweight frame that flexes to hold a vinyl banner taut.
- The Pros:
- Cost: These are typically the cheapest options available.
Strategic Placement for Banner Stands
The mistake many exhibitors make is using a banner stand as a backdrop. It is too narrow for that. Instead, think of your banner stand as your “Hook” or your “Closer.”
- The Aisle Breaker: Place a banner stand at the very corner of your booth, angled toward oncoming traffic. Use it to highlight a single, powerful benefit or a “Show Special” to stop people in their tracks.
- The Wayfinder: In larger booths, use stands to designate areas e.g., “Demo Station” or “Sign Up Here.”
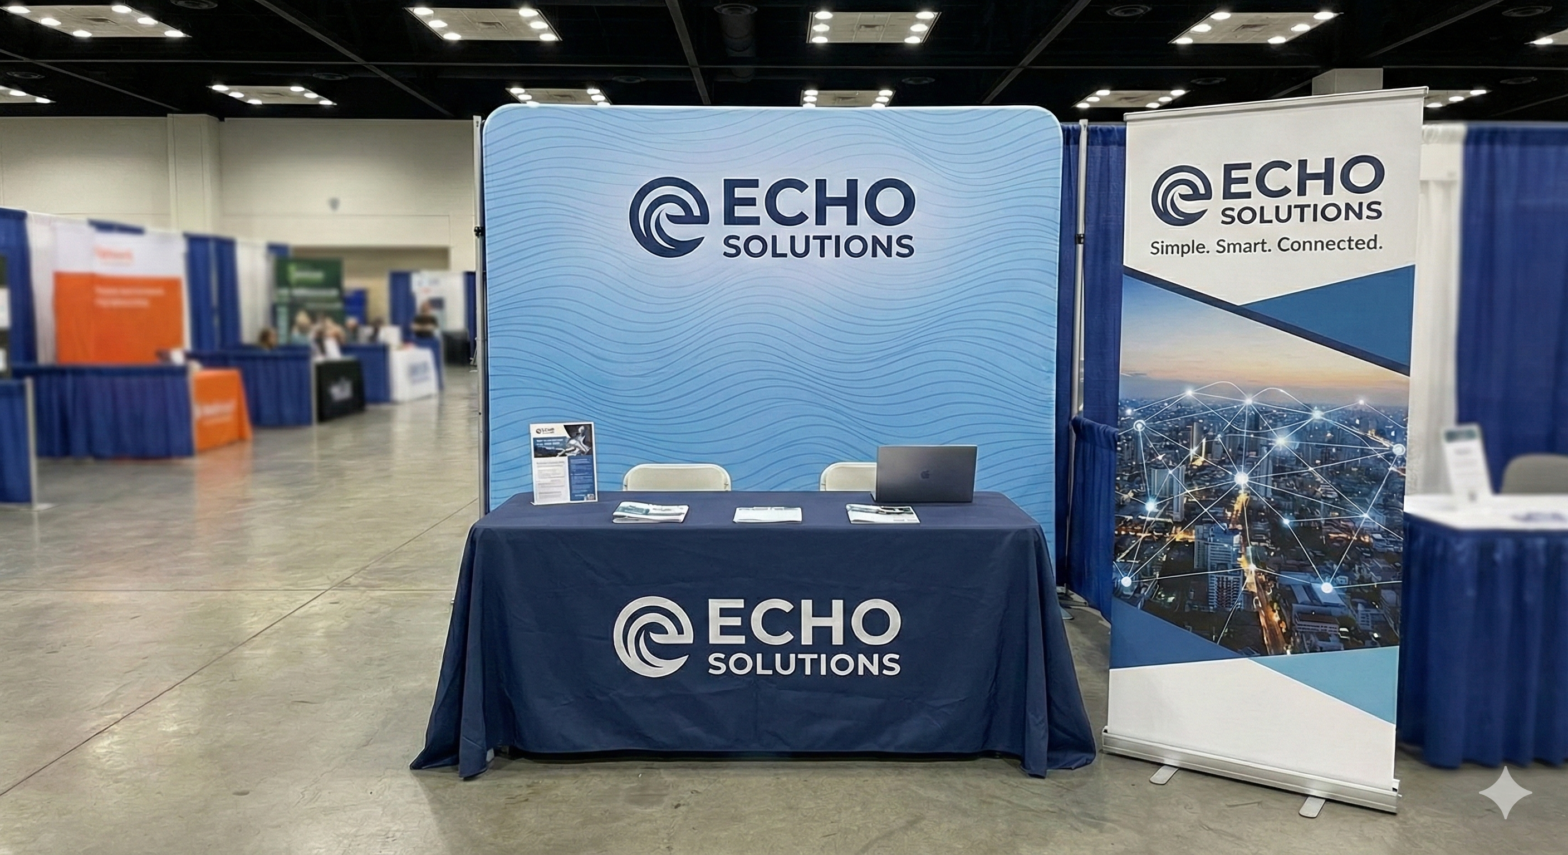
Setting the Scene: Trade Show Backdrops
If the banner stand is the hook, the backdrop is the story. Your back wall is the largest piece of visual real estate you have. It dictates the “vibe” of your booth—whether it’s high-tech and moody, or bright and welcoming.
1. Pop-Up Displays
The classic pop-up features an accordion-style frame that expands (pops up) and locks into place. Graphics are usually attached via magnetic strips or Velcro.
- Why choose it: It provides a solid, substantial wall look. It’s a time-tested format that offers good depth.
- Note: These can be straight or curved. Curved walls feel more immersive but can eat up floor space; straight walls maximize the usable square footage of your 10×10 booth.
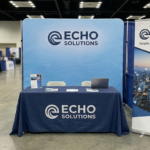
2. Tension Fabric Backdrops
Currently the industry favorite, these consist of lightweight aluminum tubes (that click together) and a large fabric graphic that zips over the frame like a tight pillowcase.
- Why choose it:
- Lightweight: Drastically reduces shipping costs compared to heavy pop-up cases.
- Washable: If your booth gets dirty, many fabric graphics can be machine washed.
- Note: These can be straight or curved. Curved walls feel more immersive but can eat up floor space; straight walls maximize the usable square footage of your 10×10 booth.
3. Backlit Displays (Lightbox)
If you want to dominate the visual landscape, backlighting is the answer. LED lights are embedded inside the frame, illuminating the fabric graphic from behind.
- Why choose it:
- Pop: Colors are more vibrant, and contrast is higher.
- Attention: The human eye is naturally drawn to light sources. A backlit booth next to a standard booth will almost always win the visual battle.
- The Investment: These are more expensive and require power access at your booth (an extra cost from the venue), but the ROI on visibility is significant.
Design Tips for Maximum Impact
You can buy the most expensive hardware on the market, but if your graphic design fails, the investment is wasted. Designing for large format print is technically and artistically different than designing a brochure or a website.
Here are the golden rules for 2025 trade show graphics:
1. The “Top Third” Rule
Imagine your backdrop is divided into three horizontal sections.
- Top Third: This is the “Billboarding” zone. Your company logo, your main tagline, and your core value proposition must go here. This is the only part of the booth visible from down the aisle or over the heads of the crowd.
- Middle Third: This is the “Engagement” zone. Use this for high-quality imagery, product photos, or secondary benefits. This is visible to someone standing right in front of the booth.
- Bottom Third: This is the “Invisible” zone. Never put critical info here. It will be blocked by tables, counters, your own staff, and other attendees. Keep this area for abstract patterns or brand colors.
2. Less is More (Really)
A trade show booth is not a brochure. Do not paste paragraphs of text on your backdrop.
- Goal: The goal of the graphic is to make them ask a question, not to answer all of them.
- Rule of Thumb: If it takes more than 3 seconds to read your backdrop, you have too much text. Use bullet points (max 3-5) and keep them punchy.
3. Resolution Matters
Nothing screams “amateur” louder than a pixelated logo.
- Vector is King: For logos and text, always use vector formats (.EPS, .AI, .SVG). These can be scaled to the size of a billboard without losing crispness.
- Raster Images: For photos, you generally need 100-150 DPI (dots per inch) at full size. If you grab a 2MB image from your website and blow it up to 10 feet wide, it will look blurry and blocky.
4. Color and Contrast
Trade show halls are often poorly lit with harsh, yellow-hued convention lighting.
- High Contrast: Dark backgrounds with light text (or vice versa) read best from a distance.
- Brand Colors: Ensure your printer uses Pantone (PMS) matching. Your “Coca-Cola Red” cannot look like “Burnt Orange” on the day of the show. Fabric printing (dye-sublimation) creates rich, deep colors, but it absorbs ink differently than paper, so proofing is essential.
5. QR Codes Done Right
In 2026, QR codes are standard, but placement is key. Don’t put a QR code at the bottom of a banner stand where someone has to crouch to scan it. Place it at eye level or near the center, and always include a “Call to Action” (e.g., “Scan for a Chance to Win” or “Scan for Digital Catalog”).
Choosing the Right Mix: A Strategic Approach
So, what should you buy? The answer depends on your booth size and your goals.
For the 10×10 “Inline” Booth: The classic setup is a 8 ft or 10ft Tension Fabric Backdrop paired with a Counter or Tablecloth.
- Why: It maximizes space. The fabric wall gives you a professional, seamless look. The counter or tablecloth gives you a place to take leads and hide your bag/water bottle.
- Add-on: Add one Retractable Banner Stand near the aisle edge to announce a specific show promotion or new product launch.
For the Recruiting Fair / Tabletop: If you only have a table, do not try to squeeze a 10ft wall behind it if the space doesn’t allow.
- The Mix: Use a Table Throw (branded tablecloth) and a Tabletop Retractable Banner. Or, use a specialized Tabletop Backdrop (usually 6ft or 8ft wide) that sits on the table.
For the Frequent Flyer: If your sales team travels solo to various hotels and conferences, weight is your enemy.
- The Mix: A Banner Stand (or three). Three 3ft stands can be pushed together to form a “wall” or separated to frame a stage. They pack into small carry bags that can often be checked on a plane, avoiding expensive shipping crates.
Conclusion: It’s About the Experience
Trade show graphics aren’t just displays, they create the environment that draws people in. A banner stand is an invitation. A backdrop sets the stage for conversations that turn into contracts.
When choosing your booth setup, look beyond price. Think durability, easy setup, and flexible design. And remember: clear, bold messaging always beats clutter.
Take a look at your current display. Are the graphics outdated? Is the hardware past its prime? If so, now’s the time for a refresh before your next show sneaks up.